Composting Tools at Home: How to Make a Shortlist
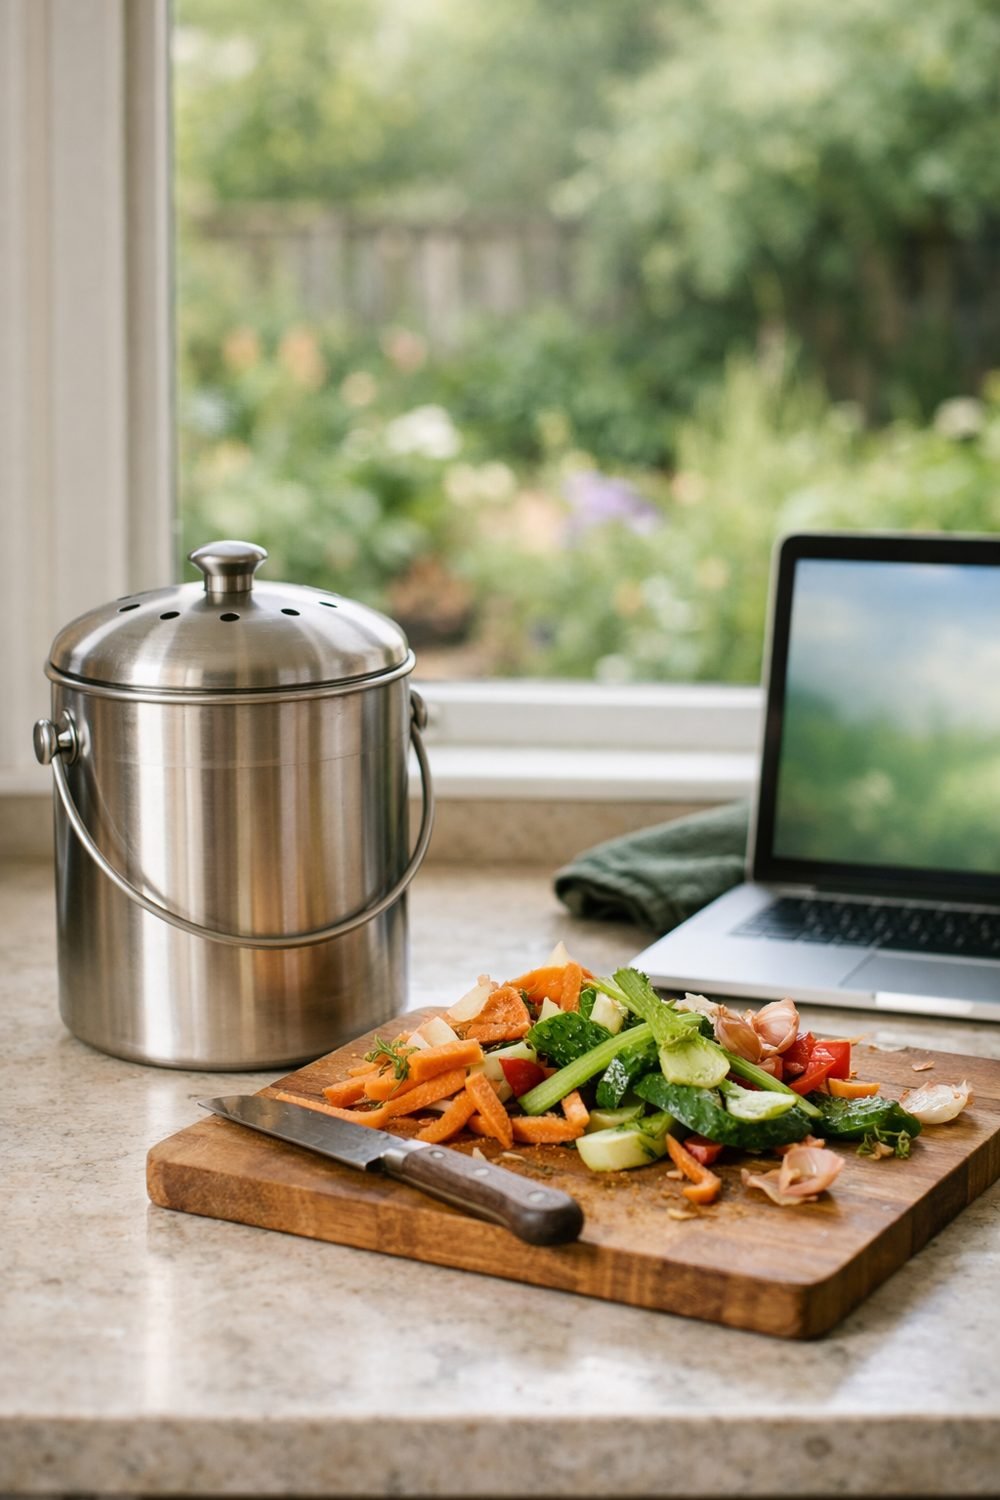
Composting at home does not need a lot of gear. This post helps you make a shortlist of composting tools, from a kitchen caddy for daily scraps to a fork for turning, so you can pick what suits your space.
You don't need a shed full of gear to start composting. A few simple composting tools, picked to fit your space, will do most of the work, and a couple of eco friendly cleaning tools will keep the whole setup from getting smelly. This shortlist walks you through what's worth having, what you can skip, and how to choose without overspending.
Before you buy anything, think about where you live. A family with a big back garden needs different things than someone in a flat with a tiny balcony. Keep that picture in mind as you read.
1. A Kitchen Caddy for Daily Scraps
This is the tool you'll touch most. It sits by the sink or on the counter and collects peelings, coffee grounds, tea leaves and eggshells until you take them outside. Without one, scraps end up in a random bowl, and that bowl ends up forgotten.
Look for a lid that closes well and a shape that's easy to wash. Smooth insides beat fancy ridges, because food sticks in corners. Some caddies come with charcoal filters in the lid. They can help with smells, but they need replacing, so check the seller's page for how often and what refills cost before you decide. Many people find that emptying the caddy every day or two matters more than any filter.
Practical tip: Pick a size you'll actually empty. A huge caddy sounds handy, but it just means older, smellier scraps sitting in your kitchen longer.
2. An Outdoor Bin or a Simple Heap
If you have a garden, this is where composting home food waste really happens. A closed bin keeps things tidy, holds in warmth and moisture, and puts off curious pets. A plain open heap in a corner also works fine if you have the room and don't mind how it looks.
Closed plastic bins are the most common choice. Tumblers, which you spin on a stand, are popular too, but they're a bit overrated for beginners. They can be awkward to fill, and once they're full you can't keep adding scraps while the batch finishes. A basic bin sitting on bare soil lets worms and other helpers move in from below, which does a lot of the work for free.
Practical tip: Put the bin somewhere you can reach easily in bad weather. If it's at the far end of a muddy lawn, you'll find excuses not to go.
3. Small-Space Options When There's No Garden
No garden? You still have choices. Composting home garbage in a container indoors or on a balcony is very doable with the right setup.
Worm bins
A worm bin uses composting worms to turn scraps into rich material for pots and planters. They're fairly quiet and don't smell much when looked after. They do need a spot that doesn't get too hot or too cold, and you can't just throw everything in.
Bokashi buckets
Bokashi is a sealed bucket system where you layer scraps with a special bran. It ferments the food rather than rotting it. The result still needs burying in soil or adding to a compost bin to finish, so it works best if you have at least a planter, a friend's garden or a community plot.
Drop-off schemes
Some areas have food-waste collections or community compost points. This is often the easiest route for flats. You still need a caddy, but no bin or worms.
Practical tip: Be honest about how hands-on you want to be. If you'd rather not think about worm care, a drop-off point is a perfectly good choice.
4. A Steady Supply of Brown Material
This isn't really a tool, but it's the thing beginners forget most. Food scraps are "greens": wet and full of nitrogen. A pile of only greens turns slimy and smells. You need "browns" to balance it out: dry leaves, plain cardboard, egg boxes, shredded paper.
A rough mix that many gardeners use is to add a handful of browns every time you add scraps. You don't need to measure. If the pile looks wet and smells sour, add more browns. If it's dry and nothing is happening, add more greens or a splash of water.
Practical tip: Keep a paper bag or old box of torn-up cardboard right next to your outdoor bin. Collect autumn leaves in a sack so you have browns all year.
If you're planning what to grow with your finished compost, the Beginner Garden Planner and Planting Calendar below this post can help you match it to the right season.
5. Composting Tools for Turning: A Fork or Aerator
Compost needs air. Without it, things break down slowly and can start to smell. A garden fork is the simplest way to turn a pile, and you might already own one.
For closed bins, a compost aerator is handier. It's a long pole with fold-out blades or a twisting end that you push in and pull out. It's easier on your back than lifting forkfuls out of a tall bin. That said, you don't need both. Pick one based on whether your pile is open or enclosed.
Practical tip: Turn or poke the pile every week or two. You don't need to be strict. A quick stir when you add a big batch of scraps is plenty.
By the way, if you like having simple routines for the home, our Free Weekly Cleaning Checklist is waiting in the sign-up box on this page.
6. Eco Friendly Cleaning Tools to Keep It Fresh
A compost setup only stays pleasant if you clean the parts that touch food. That mostly means the kitchen caddy, plus the lid and rim of any indoor bin. This is where a few sustainable cleaning tools come in handy.
You don't need special products. A long-handled scrubbing brush with natural or plant-based bristles reaches the bottom of a caddy without you sticking your hand in. Hot water and a little plain soap handle most messes. Some people like a splash of white vinegar for smells, but check the caddy's care instructions first, since some materials don't suit it.
Reusable cloths are better than paper towels here. Old cut-up T-shirts work well, and you can wash them with your rags. Skip strong bleach near anything going into compost, because you don't want harsh chemicals ending up in your soil.
Practical tip: Rinse the caddy every time you empty it and give it a proper scrub once a week. Keep the brush near the outdoor tap or sink so it's always where you need it.
For more simple ideas on low-waste cleaning and greener habits around the house, the Green Home Starter Guide below this post is a gentle place to start.
7. Check Your Local Rules First
This one costs nothing, and it can save you a headache. Some councils offer discounted bins or run food-waste collections. Some buildings, landlords or tenancy agreements have rules about balcony bins or worm farms.
A quick look at your council's website, or a polite message to your landlord or building manager, will tell you what's allowed. You might find a scheme that does half the job for you.
Practical tip: Ask what your local collection accepts. Some take cooked food and meat that you shouldn't put in a home bin, which makes a great backup.
FAQ
What can't I put in a home compost bin?
Most home guides suggest leaving out meat, fish, dairy, oily food and pet waste, since they can smell and attract pests. Glossy or plastic-coated paper is also best kept out. If you're unsure, your council's composting page usually has a clear list.
Is a composting home toilet the same as a compost bin?
No, they're quite different. A composting toilet deals with human waste and has its own safety and handling needs. If you're interested in one, read the maker's instructions carefully and check local rules, and don't mix that material into a regular food-scrap bin.
Do I need to buy everything at once?
Not at all. A caddy and a place for scraps to go is enough to begin. You can add a turning tool or a better bin later once you know how much waste you make.
How long until I get usable compost?
It depends on your setup, the weather and how often you turn it. A busy, well-balanced bin is faster than a slow heap left alone. Finished compost looks dark and crumbly and smells like earth, not food.
Start small: pick a caddy, sort out where your scraps will go, and keep some browns nearby. If you'd like an easy weekly routine to go with your new habit, grab the Free Weekly Cleaning Checklist from the sign-up box. Then have a look at the Beginner Garden Planner and Planting Calendar and the Green Home Starter Guide below this post when you're ready for the next step.
Printables and tools that can help
Beginner Garden Planner and Planting Calendar
Local dates, goals, a grow-first checklist, a 12-month planting calendar and...
See detailsGreen Home Starter Guide
An eight-chapter beginner's guide to green living with myths, vocabulary and a 30-day...
See details